The Last Three Centimetres: A Gentle Rescue Plan for Kitchener Stitch

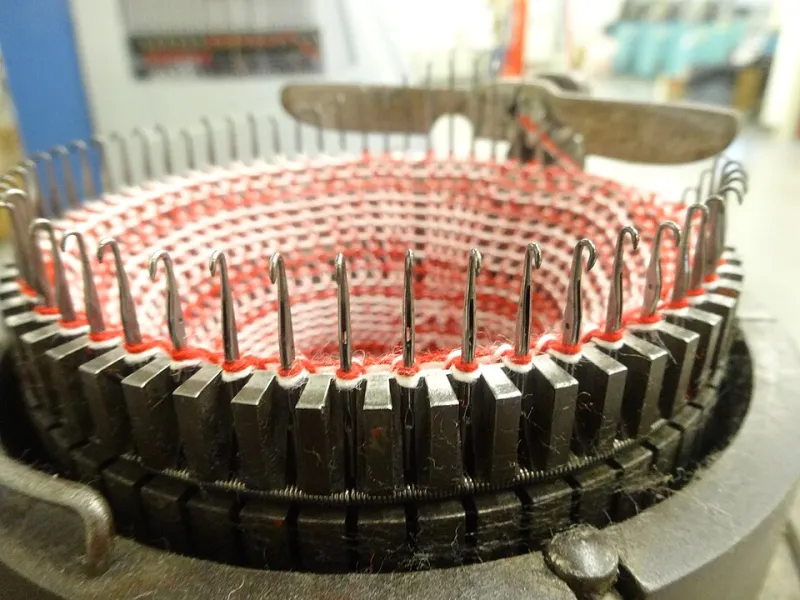
Photo: Connor Cunningham, CC BY-SA 4.0, via Wikimedia Commons
There is a particular kind of silence in a knitting group when someone reaches the toe of a sock. The needles slow. Someone sighs. The phrase “I’ll just do a three-needle bind-off” floats across the table like a polite excuse. And look, a three-needle bind-off is a perfectly good technique. But it leaves a ridge. On a sock toe, that ridge can feel like a tiny speed bump under your big toe at 6am. On a mitten tip, it can rub. And somewhere in the back of your mind, you know there is a smoother way.
That way is Kitchener stitch — or grafting, if you prefer the broader term. It is not difficult. It is, however, fiddly, repetitive and easy to do with your shoulders up by your ears. The good news? You do not need to be a wizard. You need a quiet twenty minutes, a blunt needle and a willingness to say a small rhyme under your breath.
Why the final graft feels like a test
Part of the problem is that Kitchener arrives at the worst possible moment. You have spent hours on a sock. You are tired. You can see the finish line. And suddenly you are asked to thread a needle, divide stitches onto two needles, and follow a sequence that sounds like a recipe for a very small spell: knit off, purl on, purl off, knit on.
The other part is that grafting asks you to work in a way that feels backwards. You are not knitting. You are sewing a row of stitches that mimics knitting. Your hands know how to wrap yarn around a needle; they do not necessarily know how to duplicate that path with a tapestry needle. That is why the first few attempts can feel like patting your head and rubbing your tummy while reciting the alphabet backwards.
But here is the reassuring bit: the stitches are already live and safe on your needles. You are not creating fabric from scratch. You are joining two rows of loops. Once you see that, the fear shrinks.
What is actually happening in those final rows
Kitchener stitch creates a row of stocking stitch between two sets of live stitches. The front needle holds the stitches that will sit at the front of the toe; the back needle holds the ones at the back. Each movement takes a stitch off one needle and passes the yarn through the next stitch on the other. The result is a seamless join that looks like a continuous knitted row.
The rhyme helps because it keeps you on track: front needle, knit off, purl on; back needle, purl off, knit on. You repeat it until two stitches remain, then finish with a couple of simple moves. That is the whole thing. It is not magic. It is just a sequence — and sequences can be learned.
A low-pressure practice plan
Before you graft a real sock toe, make a small practice tube. Cast on 24 stitches, join in the round and knit a few centimetres in stocking stitch. Then divide the stitches evenly onto two needles and graft the top closed with a contrasting smooth yarn.
This is not a waste of time. It is a swatch with a job. You can see the graft clearly because the yarn is a different colour. You can pull it out and try again without worrying about the fabric. And you can do it while the kettle boils.
Do it three times. The first time, read the instructions aloud. The second time, say the rhyme. The third time, try to do it without looking at a screen. By then, your hands will have started to recognise the path.
The moves, without the drama
Thread a blunt tapestry needle with the working yarn. Hold the two needles parallel, right sides facing. Set up by going through the first stitch on the front needle as if to knit and slipping it off, then through the first stitch on the back needle as if to purl and slipping it off. From there, repeat:
- Front needle: knit off one stitch, then purl the next stitch and leave it on.
- Back needle: purl off one stitch, then knit the next stitch and leave it on.
Keep the yarn tension relaxed. This is the bit most people get wrong. If you pull tight, the graft will pucker and the seam will feel stiff. Aim for the same tension as the knitted fabric around it. When you have two stitches left, front needle knit off and back needle purl off, then slip the last stitches and weave in the end.
When it goes a bit wonky
You will probably have a moment where you lose your place. It happens. Put the work down, take a breath, and look at the graft. You can usually see whether the yarn is sitting on the front or back. If in doubt, pull the needle out and start again — the stitches are live and waiting.
Another common wobble is a graft that feels tight. Gently massage the seam between your fingers. Sometimes that is enough to even it out. If not, remember for next time: looser is better than tighter.
Sock toes, mitten tips and other places it earns its keep
Once you are comfortable, Kitchener becomes a useful tool beyond socks. Use it for mitten tips, the tops of fingerless gloves, the ends of narrow scarves and any seam where you want a flat, invisible finish. It is also lovely on baby garments, where bulky seams can be uncomfortable.
The point is not to force yourself to love grafting. The point is to remove the dread. You do not have to use it every time. But it is nice to know that the last three centimetres of a project do not have to be the bit you fear.
So make the practice tube. Say the rhyme. Keep the tension loose. And the next time someone at the knitting group sighs at the toe of a sock, you can be the one who says, “Actually, it’s not that bad once you’ve done it three times.”